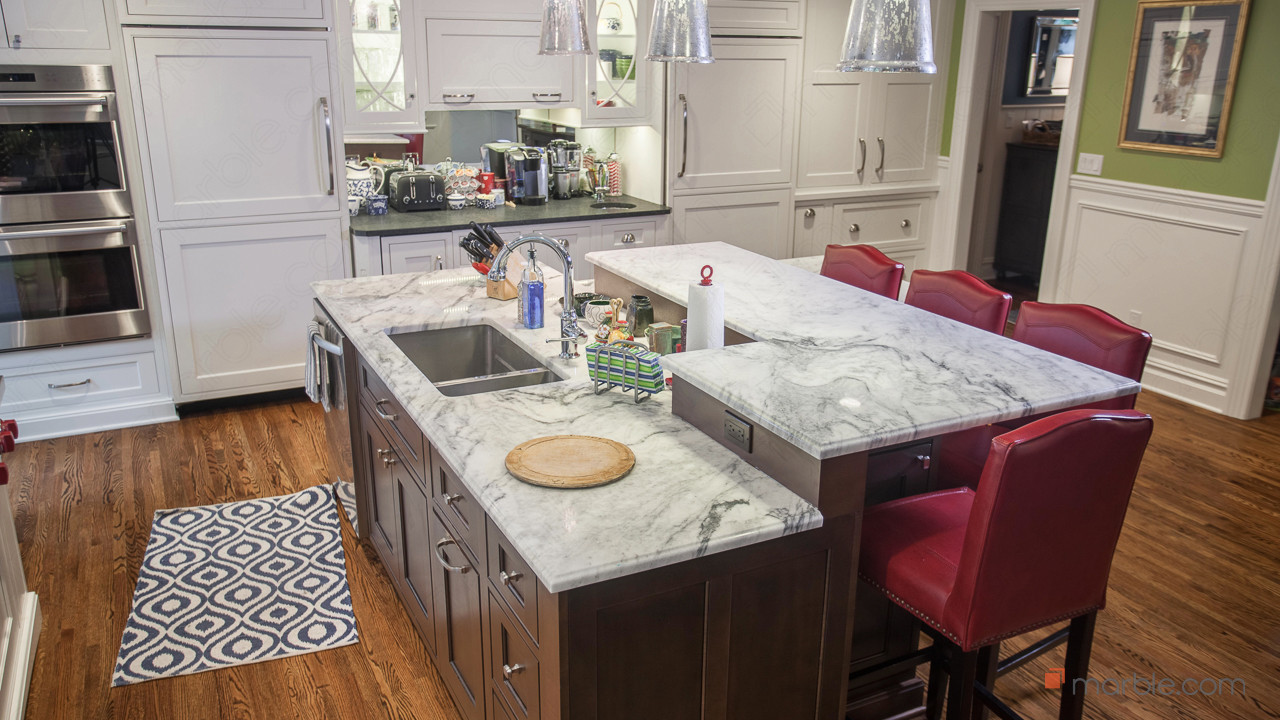

From an aesthetic and design standpoint, marble countertops are a quality addition to any kitchen or bathroom. Being a soft, porous stone, however, means that in order for marble to stay in tip-top shape, routine maintenance is needed. Other than regular cleaning in addition to keeping acidic or abrasive substances away from your marble countertops, the best habit is annual or bi-annual sealing.
Sealing ultimately helps create a protective barrier over the marble, while also ensuring the stone’s pores are filled with sealer rather than whatever liquids happen to end up on the countertops.
Below we’ll breakdown a few simple steps for sealing your marble countertops. You can either watch the video or read the steps below. While sealing natural stone countertops such as marble is well within the DIY skillset, if you don’t have the time or feel any kind of trepidation over the task, simply hire a professional. Odds are whoever sold you the stone will also be able to assist in maintaining it.
How to Seal Marble
Before you begin the sealing process, a good trick to determine if your old seal has worn off is called the Waterdrop Test. Basically, this test of the old seal is done by sprinkling some water droplets onto the counter. If they bead off, your seal is still intact. If they dissipate, odds are your seal has vanished as well and it’s time to reseal your marble countertops.
Step 1
Clear your counters of any items. Then take a damp cloth and wipe down the counters to ensure they are free of dust and other particulates. If you wish to take this step to the next level, we suggest doing the prep cleaning with a marble or granite cleaning solution, which is formulated specifically for cleaning natural stone.
Step 2
After letting your marble counters dry, it’s time to apply the stone sealer. We recommend Superior Zero Ultra Stone Protector, which can be found at MrStone.com, as it’s proven to be the best sealer we’ve experimented with.
Spray a generous amount of sealer across the dry marble countertops, ensuring full surface coverage. Depending on the size of your kitchen, it might be best to work in sections as to not get overwhelmed or lose track of what areas you’ve already applied sealer to.
Step 3
The next phase is to let it dry, but also to observe the state of the sealer over the next 15 minutes. What you want is for the sealer to fill in any pores but also not dry entirely on the surface. This could leave a hazy residue, which is why it’s important to keep an eye on the sealer as it settles and dries.
If the sealer soaks into the crevices and pores of the marble before 15 minutes is up, apply more sealer, and repeat. What you want at the end is to wipe off any remaining sealer that remains on the surface. If it dries before you can wipe it up with a dry cloth or paper towel, simply spray more sealer, wait a few minutes, and wipe up. That should prevent against a hazy seal.
Step 4
You’re done, but it’s important to remember to leave your countertops alone for the next hour or more. Generally speaking, a good rule of thumb is to just leave your countertops free of items and usage for the next 24 hours. While not always necessary, this will ensure there is zero chance of you or anyone undermining the annual seal.